
I’ve been back down the cellar again over the last few days and made a start on chiselling the wood into shape. First though, I drew the outline of my foot onto graph paper using a flat pencil, with my heel propped as close to 5cm as I could get it, and adjusted it to produce a suitably elegant shoe outline shape. I traced this out and used a brush and ink to clearly mark the outline on the wooden blocks.
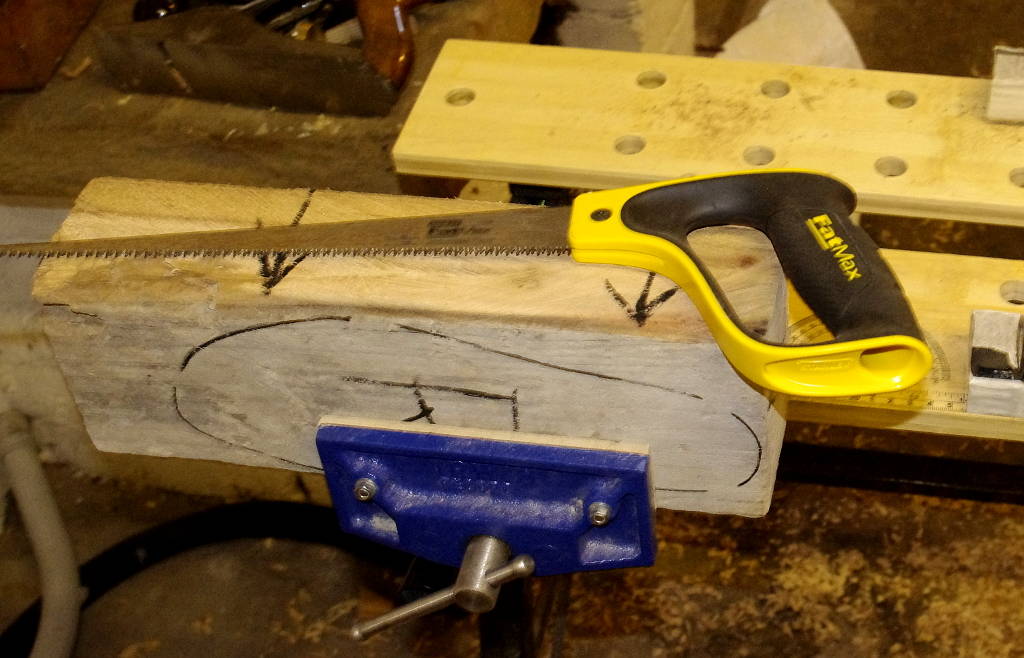
The fine piece of kit in the first picture is a Compass Saw (I’m happy to say I didn’t make up ‘Fatmax’), which has a tapered blade for cutting curves. Unfortunately it becomes really hard to handle properly when cutting through thick pieces like this, so I had to resort to the big handsaw to chop off the bigger pieces around the outside of the shoe shape. This means a bit more chisel work later, but isn’t a big deal.
This is how they come out after the excess has been sawn off. Somehow, these don’t look ready for a night out just yet. I’ll be saying that for a while, but I’m sure the effort will pay off.

Next I used a 32mm (1 1/4″) chisel to get rid of as much of the scrappy edge as I could, paring it down to the inked outline. As I got to work, I revealed the colour of the wood under all that grey coating. I don’t know what had happened to the wood to stain it in that particular way, but when it was cut cleanly it revealed a really distinctive deep red colour. This only occurs within about 3cm of the edge, which is frustrating – I’d really love the whole shoe to be this colour! Isn’t that pretty?
As well as the beautiful reddish-purple there were some much less appealing darker stains made by moisture leaking into the wood, which I’m not to pleased about. That will affect what I do to finish the surface of the wood, but that’s a problem for later. I may well end up painting them. I do have some off-cuts with that red stain so I might use them to make something else so that gorgeous deep red doesn’t go to waste if the shoes get painted.
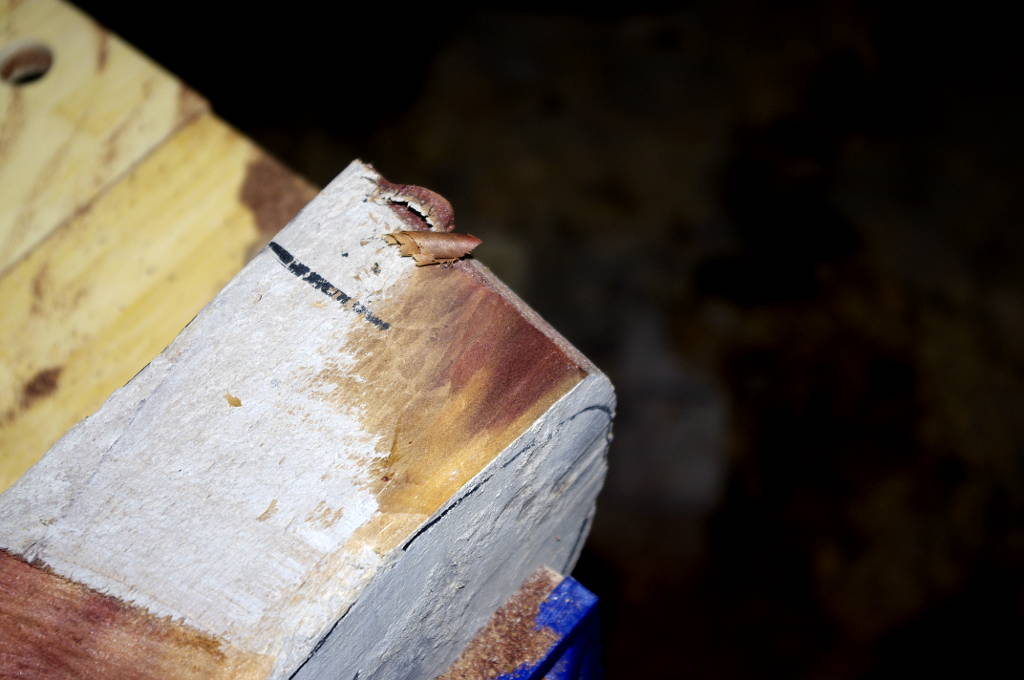
That said, carving pieces of the dark-stained areas did produce some quite interesting effects, like this cute little swirl of striped colours:

This was how they looked after I did the first round of chiselling and came back to them today:

And this is how they look now I’ve done all the way around the outside:

I’ll finish off the sheer sides with my new Compass Plane in the next couple of days, but it’d be best to finish that fully after I’ve cut the fore-foot areas.
Disappointingly, this wood seems far too soft to hold any detail, as it tears very easily at the end grain. I may have to content myself with some elegantly-shaped, if not intricately-carved footwear in this case. Oh well, at least I won’t be using up all my good ideas at once. More to come soon 🙂
– K.J.
